
How to Replace a Laptop Keyboard: Step-by-Step Guide
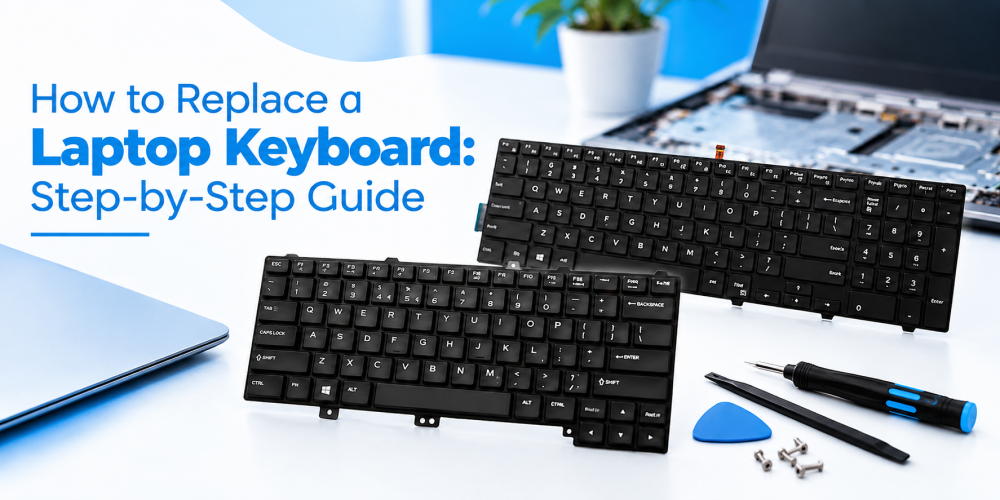
A sticky key, a missing keycap, or a row of letters that no longer respond can make a laptop frustrating to use. The good news is that a faulty keyboard rarely means you need a new computer. In most cases, a straightforward laptop keyboard replacement brings the machine back to full working order at a fraction of the cost of a new device.
This guide explains when replacement makes sense, how to choose the right part, and exactly how to replace a laptop keyboard at home, even if you have never opened a laptop before.
Signs Your Keyboard Needs Replacing
Not every typing problem requires a new keyboard. Before you start, rule out simple causes such as dust under the keys or a software glitch. Plug in an external keyboard and see whether the issue continues. If the external one works but the built-in one does not, the hardware is likely at fault.
Common warning signs include:
- Keys that do not register or type the wrong character
- Liquid damage that has caused sticking or corrosion
- Cracked, loose, or missing keys that cannot be clipped back on
- Random typing, where letters appear without being pressed
- A dead backlight on a keyboard that used to light up
If only one or two keys are affected, basic laptop keyboard repair, such as cleaning or re-seating a keycap, may be enough. In some cases, you may only need small laptop keyboard replacement parts, such as individual keycaps, clips, or a ribbon cable, rather than a whole new unit. When several keys fail together, however, replacing the entire keyboard is usually faster and more reliable than repairing individual parts.
Check Laptop Keyboard Compatibility First
This is the step many people skip, and it is where most mistakes happen. Laptop keyboards are not universal. Each one is designed for specific models, and a keyboard that looks identical may have a different connector or screw layout.
Good laptop keyboard compatibility checking comes down to a few simple steps:
- Find your exact model number. It is usually printed on a sticker under the laptop or shown in the system information screen.
- Match the part number of the old keyboard, if you can see it, with the replacement.
- Confirm the layout. US, UK, and other regional layouts differ in key shape and placement, especially around the Enter and Shift keys.
- Check for a backlight. A backlit model needs a backlit replacement, because the ribbon cable and connector are different.
If you are unsure, compare photos of the old keyboard with the new one before ordering. Taking five minutes here can save you a return and a week of waiting.
Where to Buy the Right Replacement
When you buy laptop keyboard replacements, choose a supplier that lists model-specific compatibility and offers a warranty. Cheap, unbranded listings often have poor key response or incorrect connectors.
If you own a Dell, you have plenty of options. A Dell laptop keyboard is widely available because of how common the brand is, but the range of models means you need to be precise. For example, the Dell Inspiron laptop keyboard differs from one Inspiron series to another, so always match the full model name rather than just the word “Inspiron.”
When you buy Dell laptop keyboard parts, look for clear product photos, a stated model list, and a return policy. Many sellers also stock laptop keyboard replacement parts such as screws, ribbon cables, and adhesive strips, which are handy to have in case something wears out during the job.
Tools You Will Need
You do not need a professional workshop. Gather these items before you begin:
- A small Phillips screwdriver (usually PH0 or PH00)
- A plastic pry tool or old credit card
- Tweezers for handling small connectors
- A small container for screws
- A soft cloth or anti-static mat
A plastic tool is better than metal because it will not scratch the casing or short a circuit.
How to Replace a Laptop Keyboard: Step by Step
The exact process varies by model, but the general laptop keyboard installation steps are similar across most brands. Always check your model’s service manual for details.
Step 1: Power Down and Disconnect
Shut the laptop down completely, unplug the charger, and remove the battery if it is removable. For sealed batteries, check your manual for how to disconnect the battery safely. This prevents short circuits and accidental damage.
Step 2: Remove Screws if Required
On some laptops, screws on the bottom panel hold the keyboard in place. Look for screws marked with a small keyboard icon. Remove them and keep them in your container.
Step 3: Release the Keyboard
Gently slide your plastic tool along the edge of the keyboard, between the keys and the top case. You will feel small clips holding it in place. Release them one at a time, working around the edges. Do not force it, because the ribbon cable is still attached underneath.
Step 4: Disconnect the Ribbon Cable
Carefully lift the keyboard and look for a thin, flat ribbon cable. It connects to the motherboard through a small latch. Flip the latch up with a fingernail or tweezers, then slide the cable out. If your keyboard is backlit, there may be a second, smaller cable for the lighting.
Step 5: Connect the New Keyboard
Slide the ribbon cable of the new keyboard into the connector, making sure it sits straight and fully inserted. Press the latch down to lock it. A loose connection is the most common reason a new keyboard does not work after installation.
Step 6: Test Before Closing
Before you snap everything back together, power the laptop on and test every key. Open a text editor and press each one, including function keys and the spacebar. If you have a backlit model, test the brightness levels as well.
Step 7: Secure and Finish
Once everything works, shut the laptop down again. Seat the keyboard by pressing gently along the edges until the clips click into place. Replace any screws, reinsert the battery, and power the machine on one final time.
A Note on Backlit Keyboards
A backlit laptop keyboard is helpful for typing in low light, but it adds a little complexity. The lighting cable is delicate, and the connector can break if handled roughly. Take your time, and avoid pulling on the cable. If the backlight does not work after installation, check the connection and look for a function-key shortcut that turns the light on, since it is often disabled by default.
Troubleshooting Common Problems
If something does not go as planned, do not panic. Here are the usual causes:
- No keys respond: The ribbon cable is probably not fully seated or the latch is open.
- Some keys work, others do not: Reseat the cable and make sure it is not twisted or creased.
- Wrong characters appear: The layout may not match your language settings, so check your regional keyboard configuration.
- Keyboard feels loose: A few clips may not have snapped back in place, so press along the edges again.
If none of these fixes work, the replacement part may be faulty, and a good seller should replace it under warranty.
Tips for Making Your New Keyboard Last
A new keyboard will serve you for years if you look after it. Avoid eating or drinking over the laptop, clean the keys occasionally with a soft brush or compressed air, and use a keyboard cover if you work in a dusty environment. These small habits reduce wear and help you avoid another repair soon.
Conclusion
Replacing a laptop keyboard is one of the most approachable hardware repairs you can do yourself. Confirm compatibility, gather the right tools, work patiently, and test every key before you close the laptop. With the right part and a steady hand, you can bring a frustrating machine back to life in under an hour.
If you are ready to get started, Uniq Infotech is a trusted source for quality laptop parts. Whether you need a standard model or a backlit option, you will find a reliable match for your device, including Dell and other popular brands. Each keyboard is listed with clear model details to help you order with confidence.